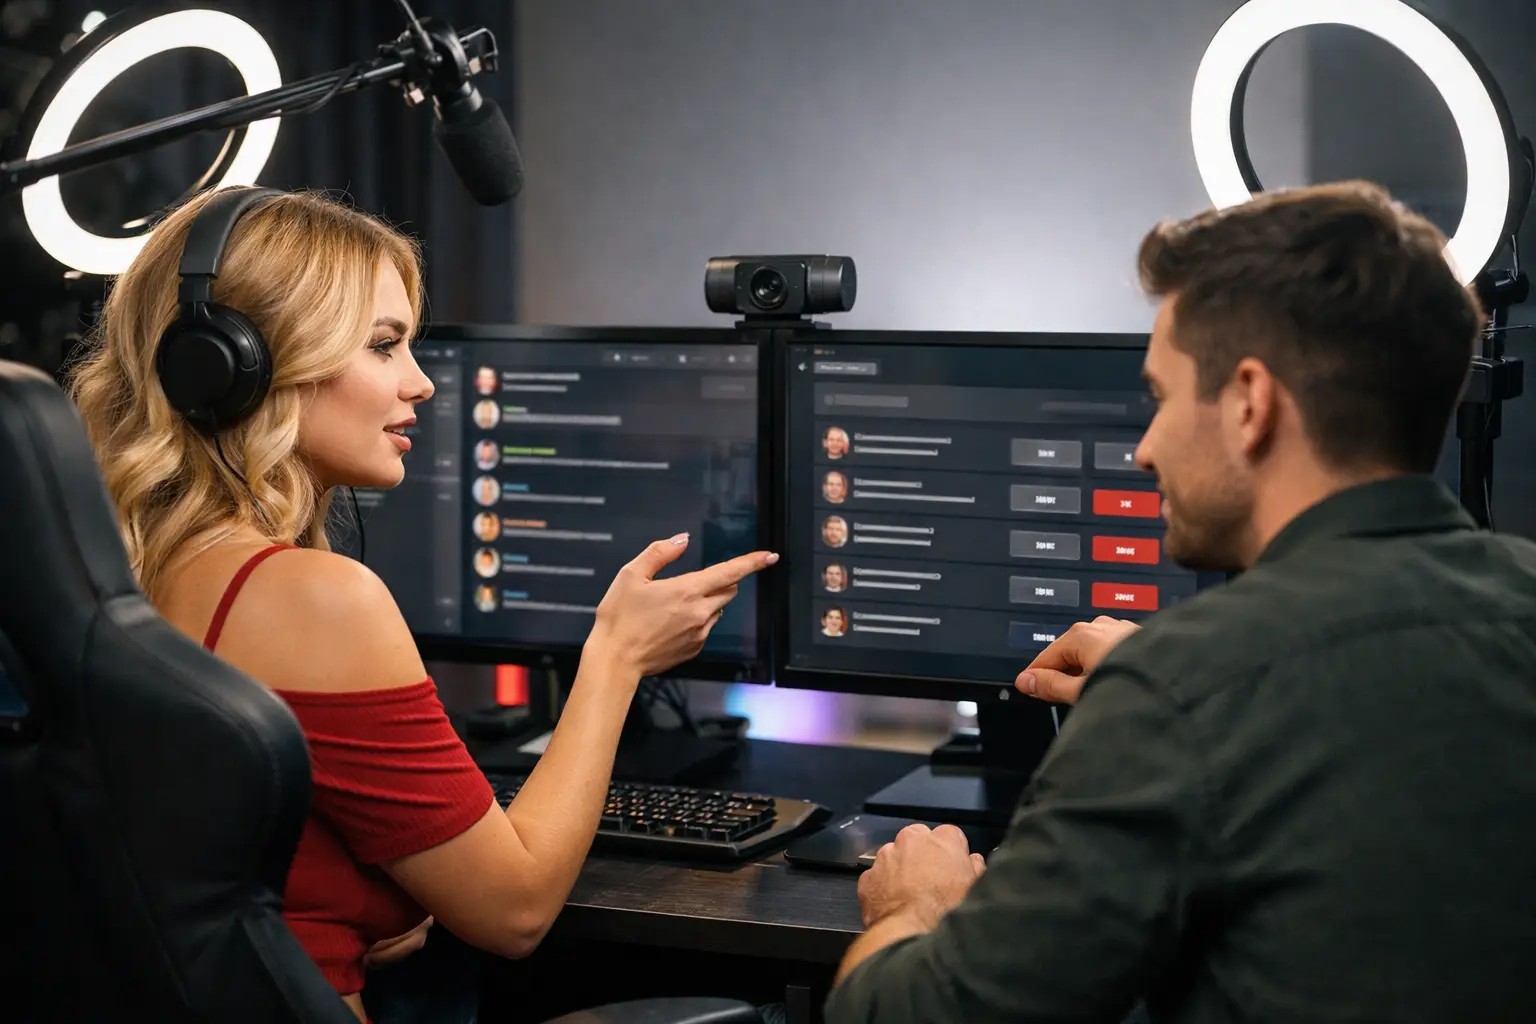
Best Cam Lighting Tips to Look Premium on Camera
A grainy, badly lit stream can make an expensive setup look cheap. The best cam lighting tips are not about turning your room into a film studio. They are about making viewers see you clearly, creating the mood you want and giving your show a polished look that encourages them to stay, chat and spend.
Great lighting is one of the fastest upgrades a webcam model can make. You do not need a huge budget, a massive room or complicated equipment. You need the right light in the right place, plus a setup you can repeat every time you go live.
Why lighting can affect your cam earnings
On cam, viewers decide quickly whether a room feels inviting, professional and worth their attention. If your face is lost in shadow, your image is yellow, or a harsh ceiling light makes you look tired, the stream can feel less personal before you have even said hello.
Lighting also helps the camera focus properly. When there is enough soft, even light, your webcam has less work to do. That usually means a cleaner image, more accurate skin tones and less visual noise. You look better without relying on filters that can blur your features or make the picture look artificial.
This is not about looking like somebody else. It is about presenting your best version clearly and confidently. The more consistent your visual quality, the easier it is to build a recognisable brand and turn casual viewers into regulars.
Best cam lighting tips: start with one soft front light
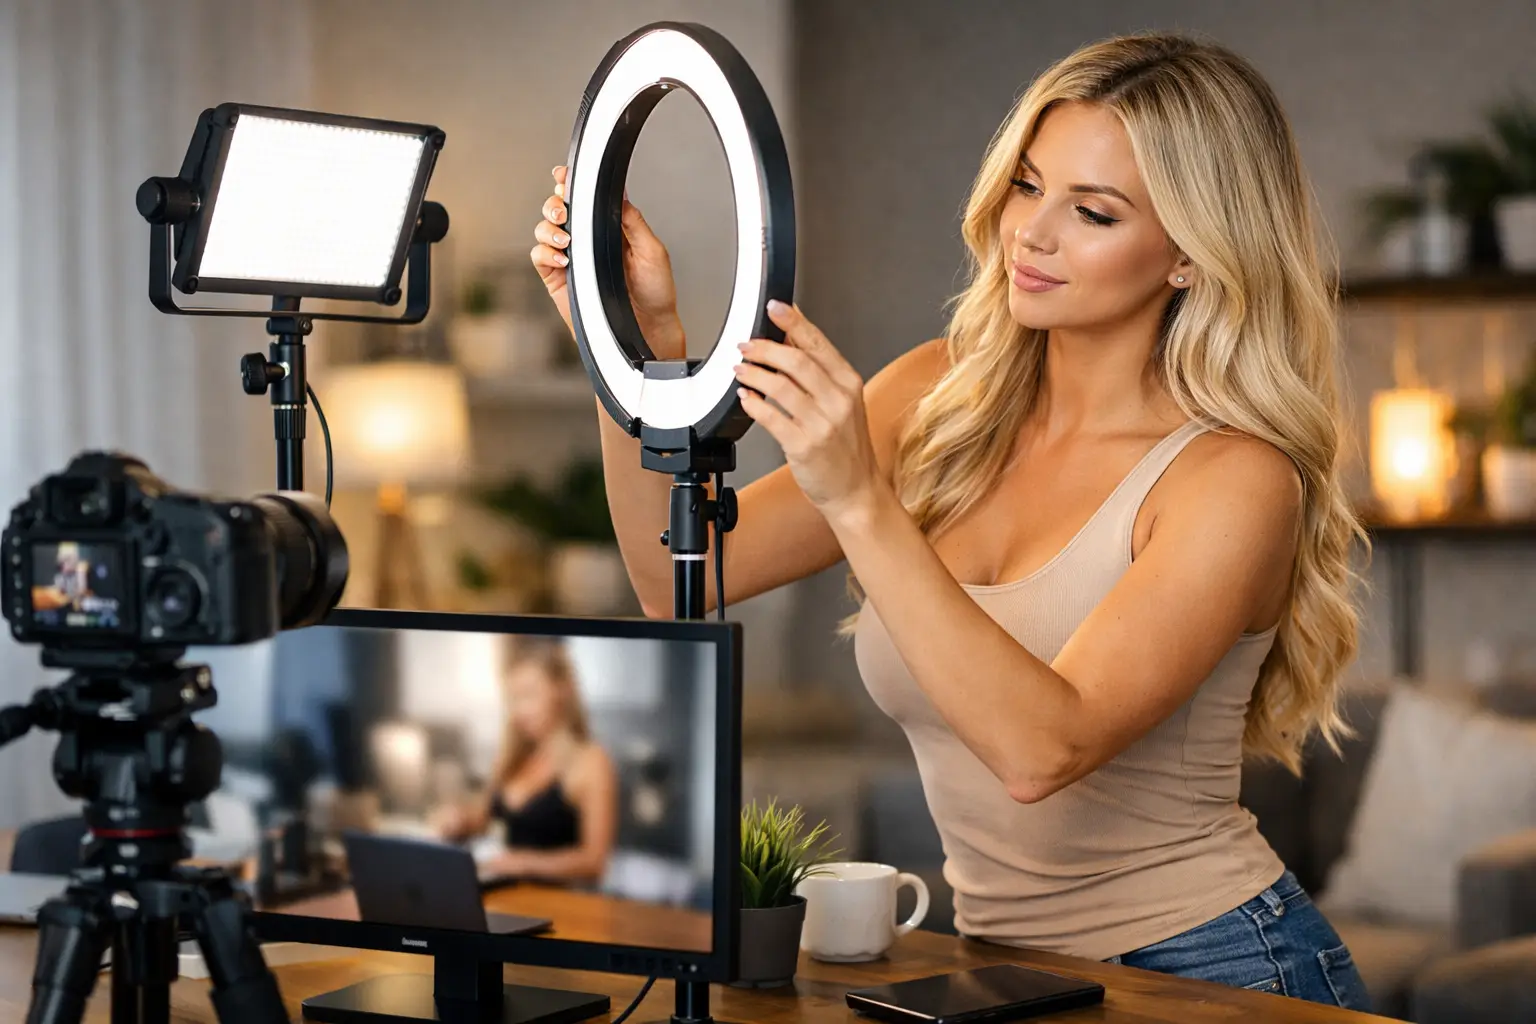
If you buy only one thing, make it a decent LED ring light or a small LED panel with adjustable brightness. Put it in front of you, close to the camera, rather than behind or far above it. Your light should land gently across your face, not blast directly into your eyes.
A ring light is simple, compact and ideal for beginners working from a bedroom or small flat. Place your webcam through the centre of the ring where possible. This gives the camera an even, flattering light source and keeps your eye line natural.
LED panels can look even more professional because you can position them at a slight angle. Put one just above eye level and slightly to one side of the camera. If the light feels too sharp, soften it with a diffuser or bounce it off a pale wall. The goal is glow, not glare.
Do not automatically set the brightness to maximum. Too much light can wash out your skin, flatten your features and make shiny areas stand out. Start around the middle setting, check your preview, then make small changes. Your camera view matters more than how bright the room looks to your eyes.
Keep the light above eye level
Lighting from below creates dramatic shadows that rarely suit a welcoming cam show. A light positioned just above eye level is usually more flattering because it lifts the face and reduces under-eye shadow.
Avoid placing a light so high that it creates dark circles or a heavy shadow under your nose. Small adjustments make a big difference. Sit in your usual streaming position and move the light gradually until your face looks even and your eyes are visible.
Never let the window sit behind you
Daylight can be useful, but only if it faces you or comes from the side. A window behind you turns you into a silhouette. Your room may look bright, but the camera will expose for the window and leave your face dark.
If you stream in daylight, sit facing a window with sheer curtains to soften direct sun. On cloudy UK days, daylight can be surprisingly flattering. On bright days, however, it changes quickly and may become too harsh. A reliable artificial light gives you control, especially if you want to work evenings or keep a regular schedule.
Close blinds or curtains when you need privacy. Apart from preventing awkward reflections and changing brightness, this protects your personal space. Your background should be intentional, not a view into your home.
Use two lights when you want more depth
One front light is enough to get started and earn. Two lights can make the image feel more considered. Use the first as your main light and set the second at a lower brightness on the opposite side. This fills in shadows without making your face look flat.
You can also use a second light behind you, aimed at a wall or background rather than at the camera. This creates separation between you and the room, which can make a basic setup look more premium. Warm fairy lights, a small lamp or a coloured LED can work well here, provided they do not overpower the image.
Think of the background as part of your show. A soft pink, purple or blue glow can match your personality and create a recognisable look. But keep the main light on your face neutral. If every light is coloured, your skin tone may look strange and the camera may struggle to focus.
Match the colour temperature
Mixing warm lamps with cool LEDs is one of the quickest ways to make a stream look messy. Your camera may show one side of your face orange and the other blue. Choose a direction and stick to it.
For most models, a neutral white setting around daylight tone looks clean, modern and flattering. A warmer light can suit a cosy, intimate room style, while a cooler setting can look crisp and high-end. What matters is consistency across the lights that affect your face.
Check the picture through the actual platform or webcam software before you start. Mobile phone cameras and mirrors can be misleading. The image your viewers see is the only one that counts.
Set your scene before you go live
A strong lighting setup can still fail if the camera settings are wrong. Clean your webcam lens, especially if you use a laptop camera. A fingerprint can soften the entire image and make even good lighting look foggy.
Turn off automatic exposure if your webcam software allows it. Auto exposure can make the picture brighten and darken every time you move, hold up an item or change position. Locking it once you have found a flattering level gives your stream a more professional finish.
Do a short test recording before each session. Look for shadows, bright patches, reflections in mirrors and lights visible directly in shot. Check from the angles you actually use during your show, not just when sitting perfectly still at the desk.
Keep a note of your best settings: light brightness, camera position, colour temperature and room layout. Then you can be ready in minutes instead of rebuilding your setup every night. Consistency saves time, and more time online gives you more opportunity to earn.
Spend smart, not big
Do not delay starting because you think you need costly studio equipment. A basic ring light, a tidy background and a clean camera can outperform a messy setup packed with gadgets. Upgrade when your earnings justify it.
Your first priority is a dependable main light. Next, consider a second LED panel, a tripod or clamp that keeps your camera steady, and a small background light. Avoid cheap lights that flicker on camera. If you notice lines moving across your preview, test another brightness setting or replace the light before going live.
Lighting should support your personality, not become the whole show. Some models suit bright, playful colour. Others earn more with a soft, classy and private feel. Test different looks, watch how your regulars respond and keep what feels natural to you.
A polished stream tells viewers that you take your work seriously. Set up your light, check your preview and go live with confidence. The right first impression costs far less than most people think, and it can start paying you back from your next session.