Top Beginner Cam Room Ideas That Look Professional
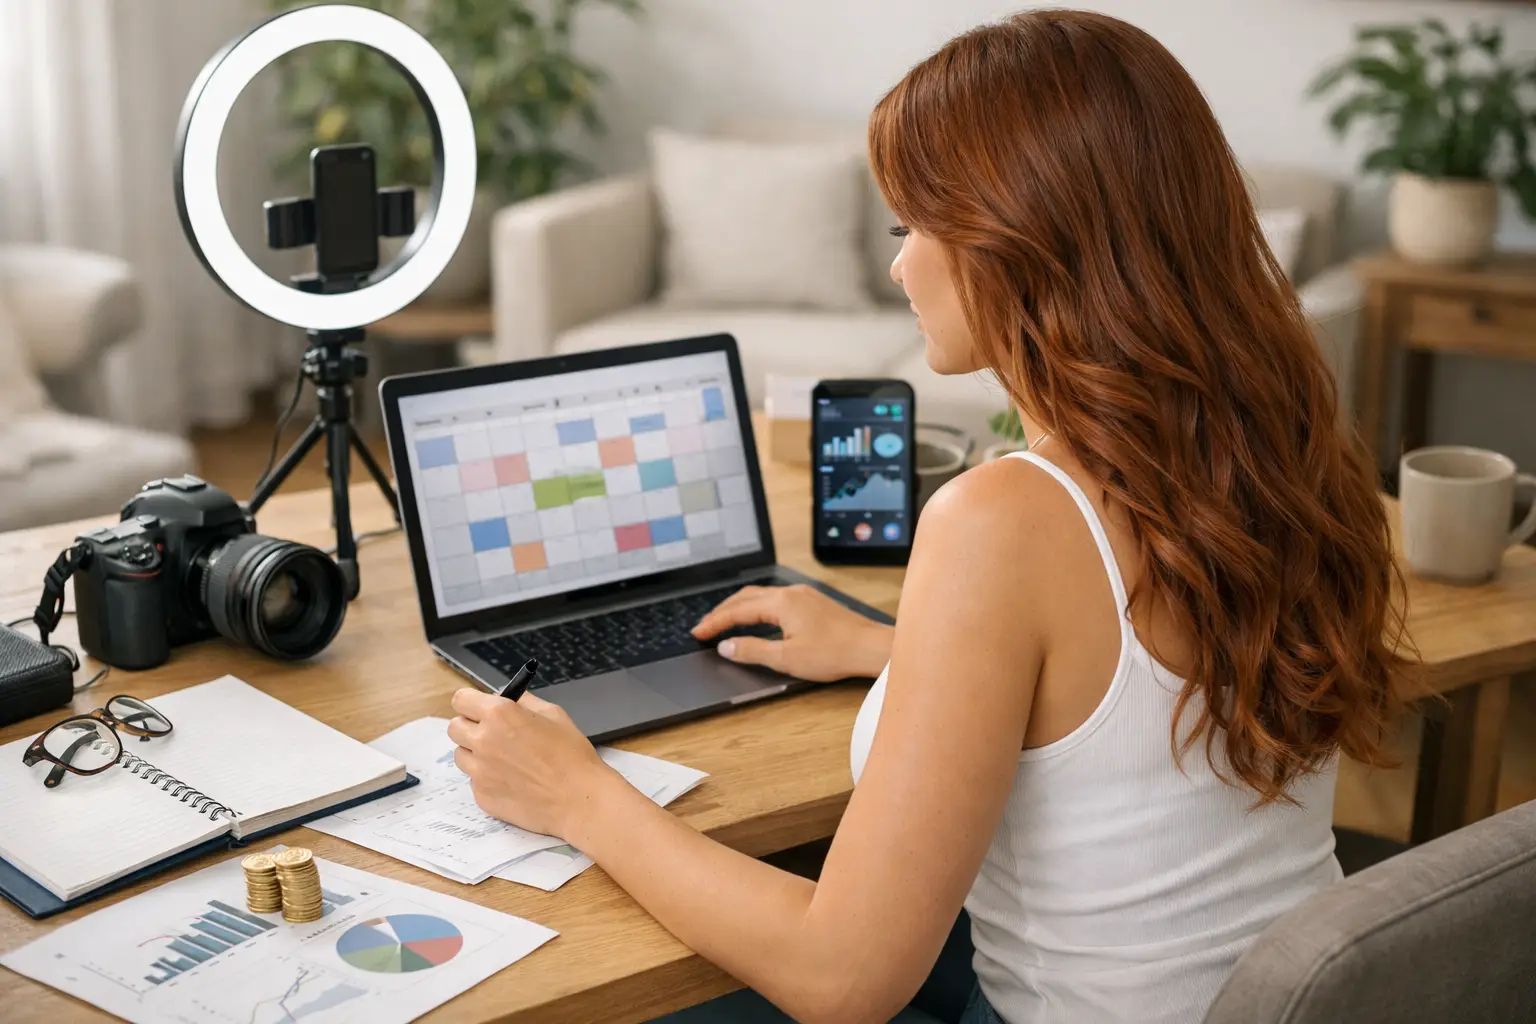
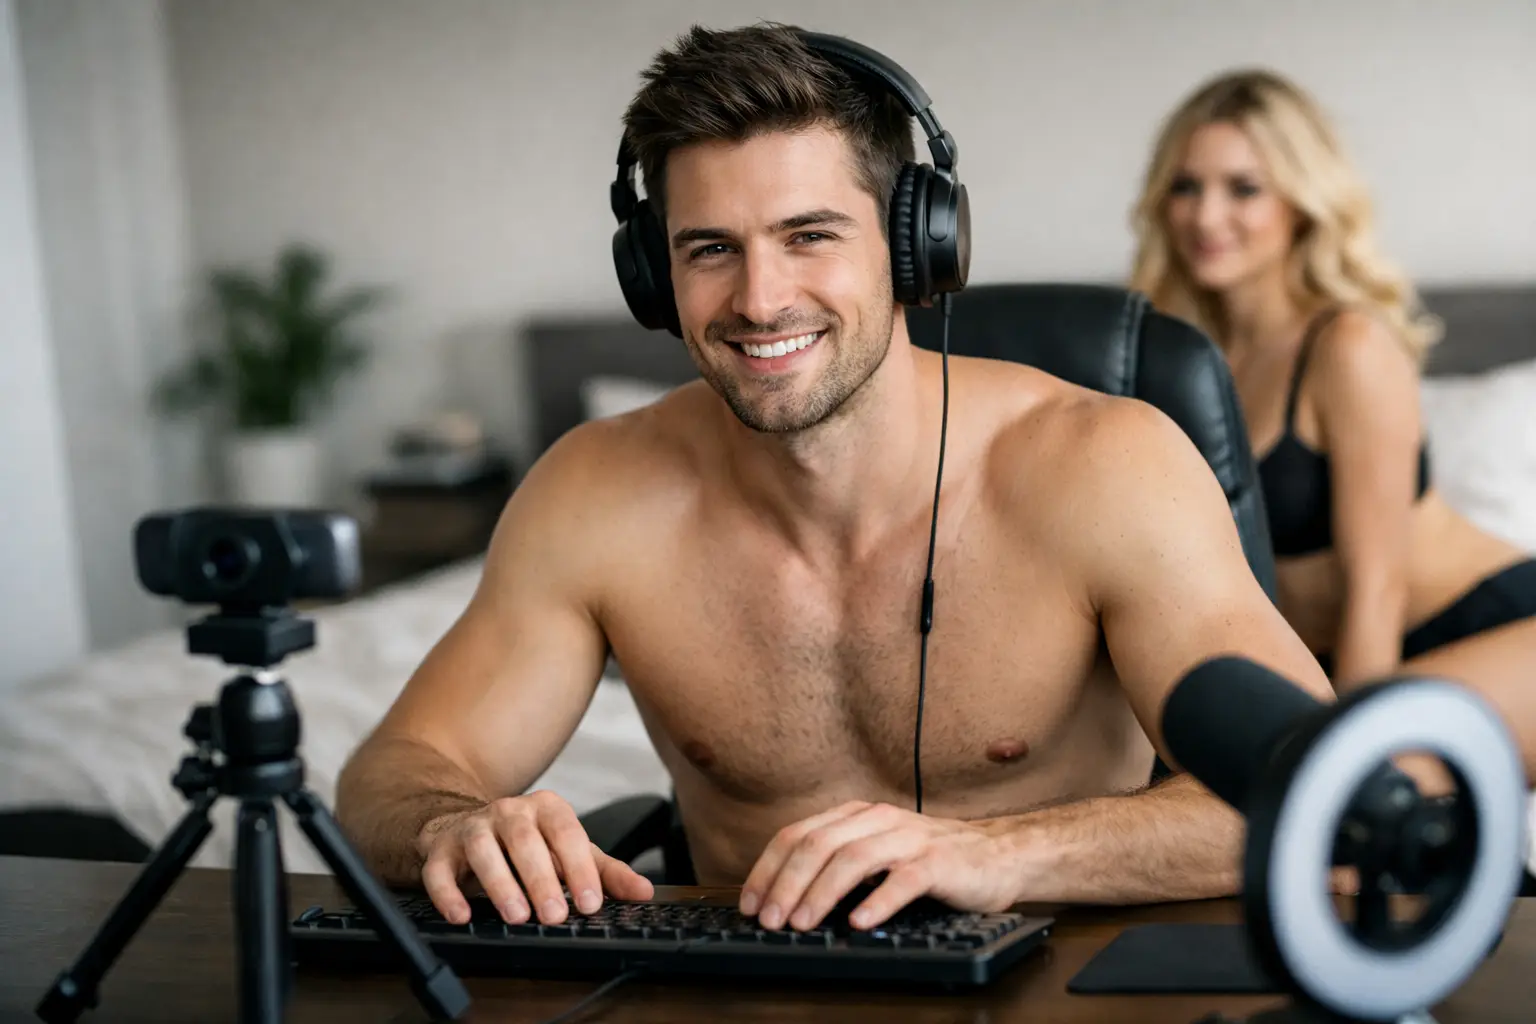
A good cam room is not about owning expensive furniture or living in a huge house. It is about giving viewers a reason to stay, come back and spend. These top beginner cam room ideas focus on the details that make a home setup look intentional, feel private and support better earnings from day one.
Your room is part of your brand. Before anyone learns your personality, they see your lighting, background, camera angle and how confident you look in the space. Get those basics right and you can look far more established than a beginner working from a spare room, box room or corner of a flat.
Start with privacy, not decoration
The most attractive setup is one you can use confidently. Choose a room with a door that locks or at least closes securely, particularly if you share a home. Let housemates know when you cannot be interrupted, silence notifications and keep pets out of the room while you are live.
Check the background through your camera before every session. Remove post, paperwork, prescription labels, family photographs, work uniforms and anything that reveals your address, workplace or daily routine. A brilliant room idea is worthless if it compromises your privacy.
You do not need to show every inch of the room either. Create one reliable filming zone. A clean wall, a curtain, a folding screen or the corner of a bedroom can become your regular set. Keeping the camera framed tightly makes the room easier to manage and gives your shows a more polished feel.
Top beginner cam room ideas for a stronger first impression
Build a simple background with one clear style
Pick a look that suits the version of yourself you want to present online. Soft, feminine and cosy can work brilliantly with neutral bedding, warm lamps and a fluffy throw. A clean, modern style may need crisp sheets, a plain backdrop and one or two bold colours. If your personality is playful, brighter accessories and themed décor can give viewers something memorable to associate with you.
Avoid trying to do everything at once. Too many patterns, signs, toys and colours can look messy on camera. Choose a base colour, add one accent colour and use a few intentional pieces. A tidy bed, cushion covers, a rug and a small plant can be enough.
The goal is not to copy another model’s room. It is to create a setting that feels consistent with your profile photos, username and personality. When your room and brand match, regulars recognise you faster.
Make lighting your first proper upgrade
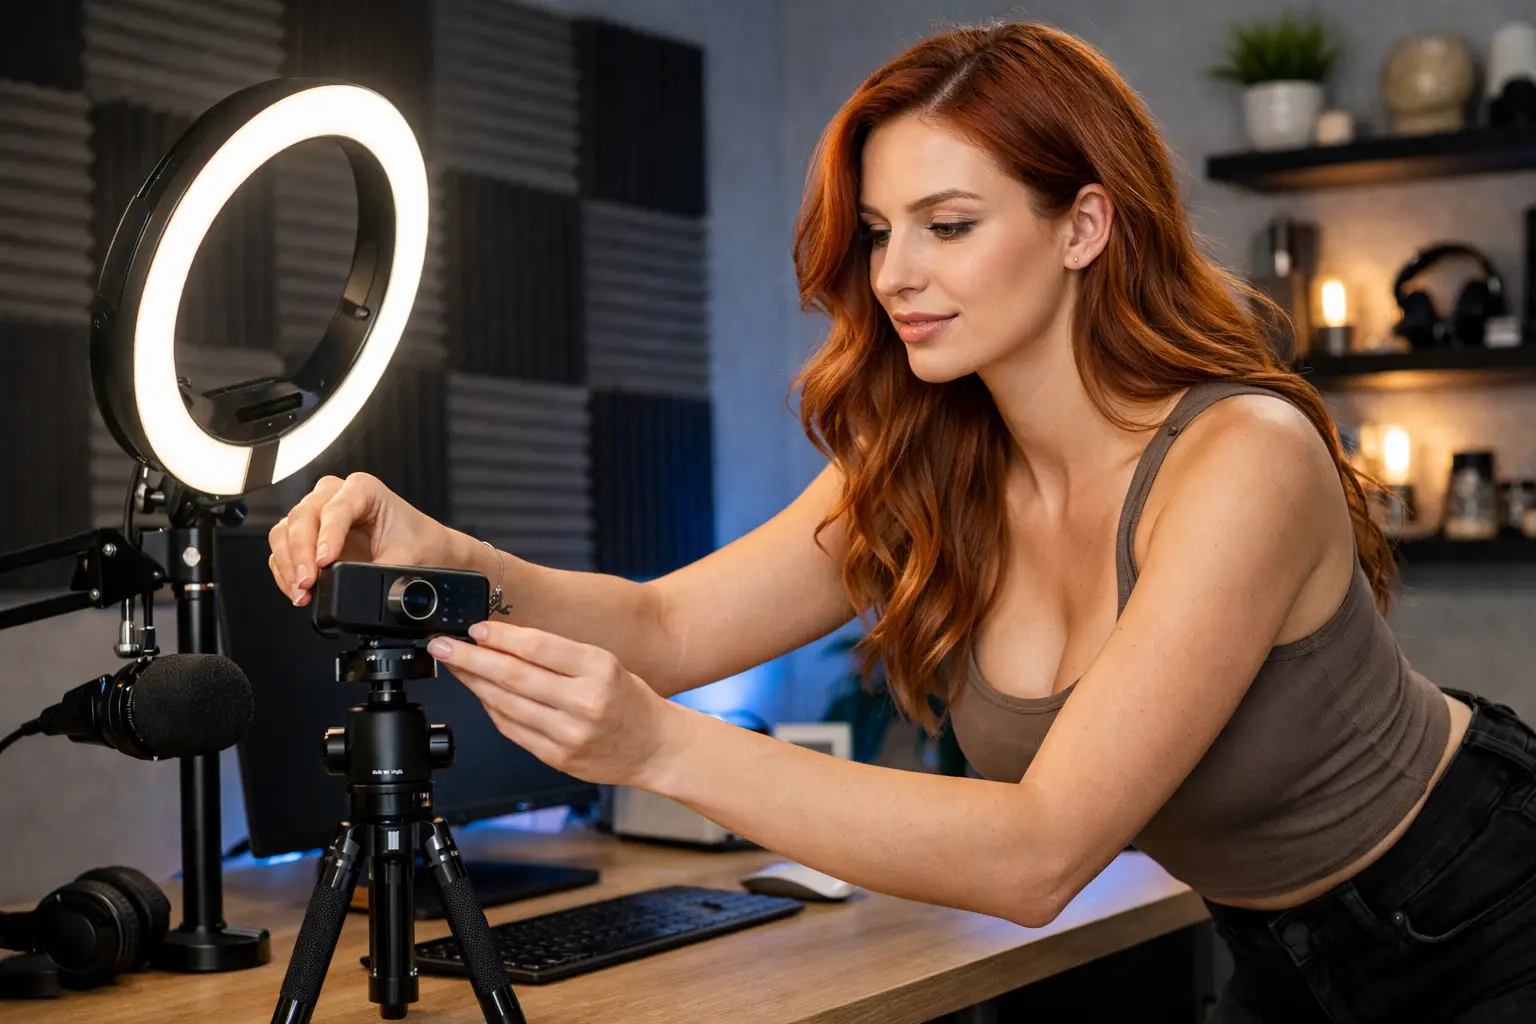
Poor lighting can make even an expensive camera look disappointing. Natural daylight is useful for testing, but it changes quickly in the UK and is unreliable for evening sessions. A ring light or adjustable LED panel is usually the smartest early investment.
Place the main light in front of you, slightly above eye level, rather than behind you. Backlighting from a window or lamp can leave your face in shadow and turn you into a silhouette. Test the light with your webcam software, not just your mobile phone camera, because the picture can look very different once you are live.
Warm lighting feels inviting, while cooler white light often looks sharper and cleaner. It depends on your room style and skin tone. A small lamp in the background can add depth, but your face should always be the brightest point in the frame.
Set the camera at a flattering, practical height
Do not balance your webcam on a pile of books and hope for the best. It may work once, then slip halfway through a busy show. A basic tripod, clamp mount or laptop stand keeps your framing stable and gives you more control.
Position the camera around eye level or a little higher. This tends to look more natural, helps you maintain eye contact and stops the stream feeling awkwardly angled. Sit or stand where you can reach your keyboard, drinks and essentials without constantly leaving the frame.
Before you go live, record a short private test. Watch it back for shadows, clutter, strange angles and background noise. That five-minute check can save you from an unprofessional first session.
Use a bed, chair or feature corner properly
You do not need a dedicated studio to create variety. A well-made bed is an easy centrepiece because it is comfortable, familiar and simple to dress in different colours. A stylish chair can work for chat-led sessions, while a feature corner with a backdrop gives you a flexible spot for photos and short promotional clips.
What matters is that the area looks deliberate. Make the bed properly. Straighten the sheet. Move laundry, chargers and empty glasses out of sight. Those small fixes make a bigger difference than buying lots of décor.
If your room is very small, work with the wall rather than against it. A curtain on a tension rail, fairy lights used safely, removable wall panels or a plain fabric backdrop can turn an empty corner into a set. Keep cables taped down or tucked away so the space stays safe and clean.
Create a room that is easy to work in
A cam room has to support long sessions, not just look good in a screenshot. Keep water nearby, have a comfortable seat available and make sure your mobile phone charger, webcam lead and lighting cables can all reach without creating a trip hazard. If you are too hot, uncomfortable or distracted, your energy will drop quickly.
Sound matters as well. Hard floors and bare walls can make a room echo. Rugs, curtains, bedding and cushions help soften the sound without turning the room into a recording studio. Close windows if traffic is loud, and turn off fans or appliances that create a constant hum.
Think about temperature before you start. Bright lights warm up small rooms faster than most beginners expect. Having a quiet fan nearby, off camera if possible, can make longer shifts much more comfortable. Just test whether it affects your microphone.
Keep your room fresh without spending every week
Regulars enjoy familiarity, but they also notice when a room never changes. You do not need a complete redesign. Rotate bedding, swap cushion covers, change one background light or introduce a seasonal colour. A few low-cost changes make content feel fresh while keeping your established look.
Build a small box of room accessories instead of cluttering your filming area. Store spare throws, lamps, décor and themed items nearby, then bring them out when you need a different mood. This makes it easier to create new photos, schedule themed sessions and avoid visual burnout.
Be realistic about what is worth buying. Better lighting, stable camera positioning and a clean background will usually improve your room more than novelty décor. Start with what viewers actually see on screen, then reinvest earnings into upgrades that improve quality or comfort.
Treat your cam room as part of your earning plan
Your space does not need to be perfect before you start. Waiting for the ideal room, ideal equipment or ideal confidence can delay the money you could already be earning. Begin with a clean, private corner and upgrade as you learn what your audience responds to.
Pay attention to the sessions that perform well. Did viewers comment on your cosy setup, your colourful backdrop or the way the lighting looked? Use that feedback. Camming is not just about going live – it is about noticing what holds attention and repeating what works.
New models often benefit from support with profile setup, positioning and building a routine that fits around real life. Strictly Models helps adult creators get started with hands-on guidance, major network access and fast payment administration, so you can spend more time building your audience and less time stuck on the technical side.
Your first room does not have to look like a luxury studio. It has to look clean, safe, personal and ready for business. Set up one strong camera angle tonight, test it properly and let your room grow alongside your confidence and earnings.