
Cam Room Lighting Guide for Better Shows
A weak camera feed can make an otherwise great show look cheap. This cam room lighting guide is built to help you look clear, confident and worth watching, without turning your home into a film studio or spending a fortune before you have earned your first payout.
Good lighting does more than brighten the room. It shapes how viewers see your face, your expression, your background and the overall quality of your stream. When your image looks polished, people are more likely to stay, chat and return. That gives you a stronger position to build regulars and increase your earnings.
Start with the camera, not the lamp
Before buying anything, switch on your webcam or mobile phone camera and look at what it is already picking up. Sit where you would normally stream, then record a short private test. Watch it back on the same device your viewers are likely to use.
If your face is dark while the window behind you is bright, your camera will expose for the window and leave you looking like a silhouette. If your overhead light creates deep shadows below your eyes, it can make you look tired even when you are not. The aim is simple: your face should be the brightest, clearest part of the frame.
Position your camera at eye level or just above it. Lighting works far better once your camera angle is right. A low camera with a harsh ceiling bulb is rarely flattering, no matter how expensive the bulb was.
The best cam room lighting setup for beginners
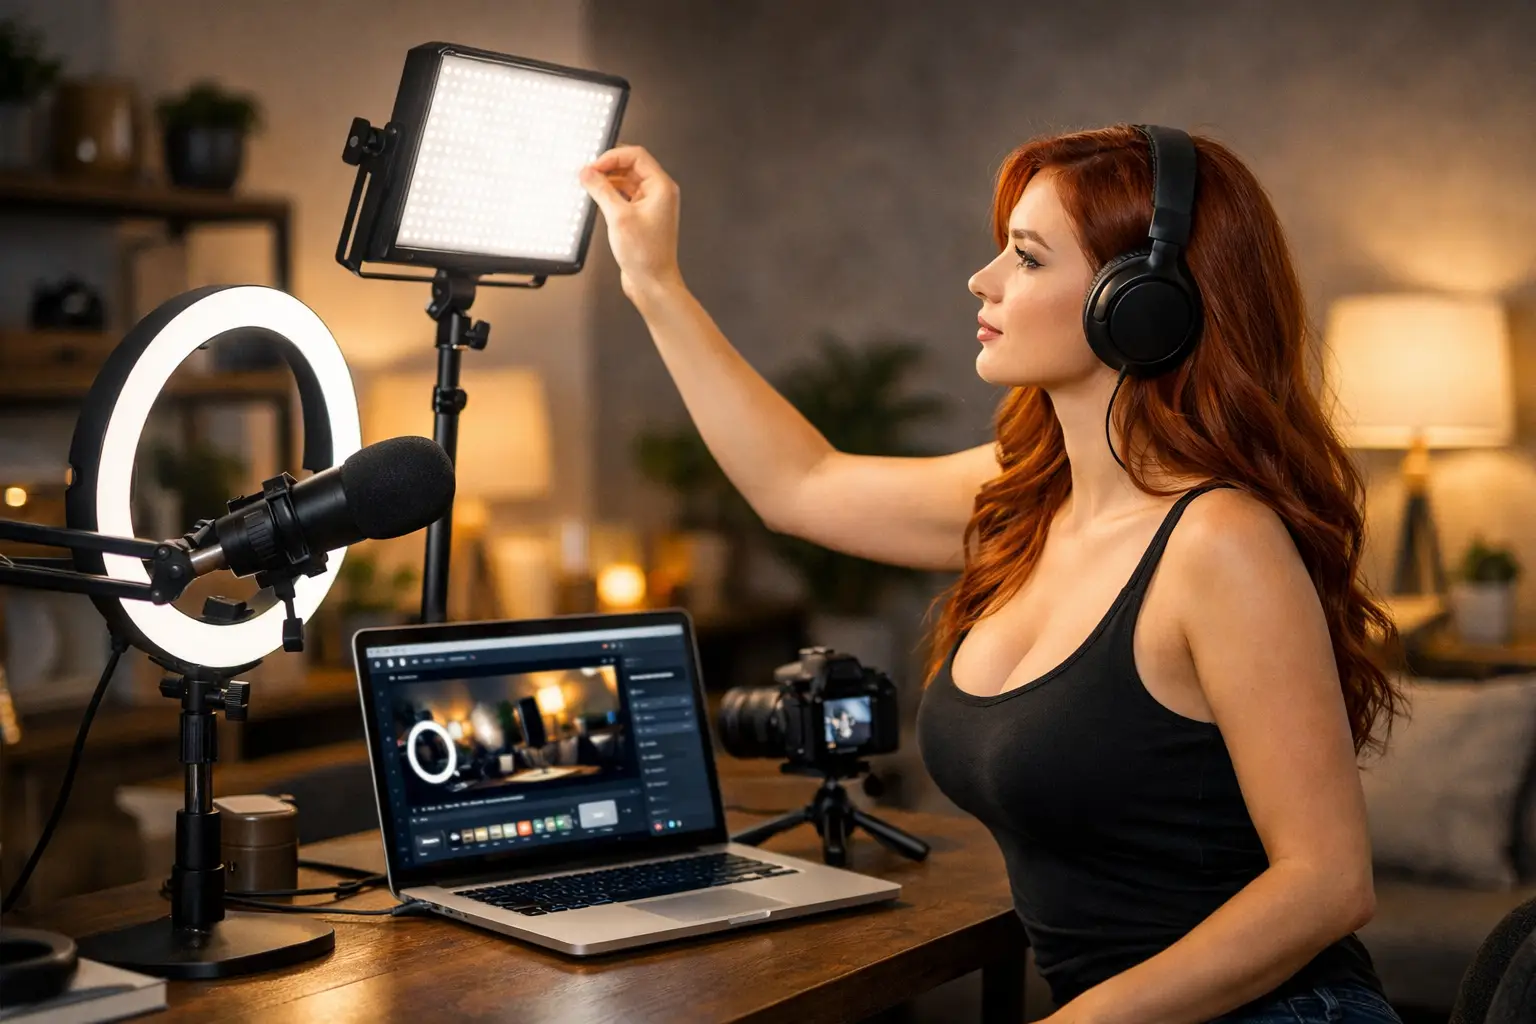
For most new models, one soft front-facing light is enough to make an immediate difference. A ring light is popular because it is affordable, simple to position and creates an even glow across the face. Put it behind or around your camera, rather than far off to one side.
Do not place it too close. A light pushed right against your face can flatten your features, create shiny skin and make the image look overexposed. Start around an arm’s length away, then adjust the brightness down until your skin still has natural tone and detail.
A small LED panel with a diffuser can work just as well. In some cases, it is better than a ring light because you can angle it slightly down towards your face, which gives a softer result. The key is diffusion. Bare bulbs and uncovered LEDs tend to create harsh highlights and hard shadows.
Natural daylight can be useful, especially if you stream during the day. Face a window rather than sitting with it behind you. However, daylight changes constantly. A cloudy morning, bright afternoon and early evening can all look different on camera, so a dedicated light is more reliable if you want a consistent setup and flexible working hours.
Use colour temperature to look natural
Colour temperature is measured in Kelvin, but you do not need to become technical about it. Look for a light with adjustable warmth, then set it somewhere around neutral white. Extremely blue light can make skin look cold and washed out. Very warm orange light can make the room look dull or muddy.
Around 4,000K to 5,000K is a sensible starting point for webcam work. Test it with your camera, not just your eyes. Cameras often interpret colour differently, particularly built-in laptop webcams.
Try not to mix several colours of light in the same shot. For example, a cool ring light on your face, a yellow bedside lamp behind you and daylight from a window can create strange skin tones. You can still use practical lamps in the background for atmosphere, but keep the main light on you consistent.
Build depth without distracting viewers
A flat, bright wall behind you is clean, but it can make the image feel basic. You do not need a luxury room to create a better scene. A tidy bed, a neutral throw, a small lamp, fairy lights or a simple coloured LED glow can make the background look deliberate.
Keep the light in the background lower than the light on your face. If the background is brighter, viewers will look at that instead of you. It can also confuse your camera’s exposure and make your face appear darker.
Coloured LEDs can add personality, but use them with restraint. A soft pink, purple or warm amber background can look great on camera. Fast-changing colours, flashing effects and very bright strips can look messy, reduce image quality and put some viewers off. Your room should look like your space, not a nightclub with no clear focal point.
Think about what is visible behind you before every stream. Remove personal post, family photographs, work documents, prescription labels and anything that reveals where you live. Strong lighting improves your picture, but it can also reveal details you did not intend to share.
Avoid the lighting mistakes that cost attention
The most common mistake is relying on one overhead ceiling light. It creates shadows, shines on the forehead and can make the room feel stark. Turn it off if your front light is strong enough, or use it only as a low-level fill.
Avoid putting a bright lamp directly beside your camera lens. This can create glare, especially if you wear glasses. Move the light slightly higher, angle it down and place it a little to one side until reflections disappear.
Another mistake is pushing brightness to the maximum. More light is not always better. When highlights are blown out, your skin loses detail and the feed can look grainy or artificial. Reduce the light first, then adjust your webcam’s exposure settings if needed.
Do a quick check for flicker as well. Some budget bulbs flicker on camera even when they look normal in person. Record ten seconds of footage and review it before going live. If the image pulses or shows dark bands, try another bulb, alter the camera’s anti-flicker setting, or use a purpose-made LED light.
A simple three-light upgrade when you are earning
Once you are bringing in regular money, a three-point setup can make your stream look noticeably more professional. You still do not need to overcomplicate it.
Your key light is the main soft light in front of you. Your fill light sits on the opposite side at lower brightness and softens shadows. Your back light goes behind you, pointing gently towards your shoulders or hair to separate you from the background.
This setup is particularly useful if you stream in a darker room or use a darker backdrop. It adds shape without making the image harsh. If you only add one extra light, choose a small background or back light before buying multiple front lights. It creates more depth for less effort.
Test your setup like a paying viewer would
Do not judge your lighting only in a mirror. Cameras, platforms and viewers’ screens all change the final result. Run a private test at the time you normally plan to work, wearing an outfit and make-up level that reflects a real stream.
Check the feed on both a mobile phone and a laptop if possible. Look for shadowy eyes, shiny patches, grain, blurred movement and distracting items in the background. Move as you would during a show, because lighting that looks good when sitting still may fail when you stand up or move further from the camera.
Make one change at a time. Shift the lamp, test again, then adjust brightness. This is faster than changing everything at once and having no idea what improved the picture.
At Strictly Models, the focus is not on making you buy loads of kit. It is about setting up smart, looking professional and giving viewers a reason to stay. Start with a clean frame and one soft light, then upgrade when your earnings justify it.
Your cam room does not need to be perfect before you begin. It needs to be private, tidy and bright enough for viewers to see you clearly. Get that foundation right, test it properly, and let your confidence do the rest.